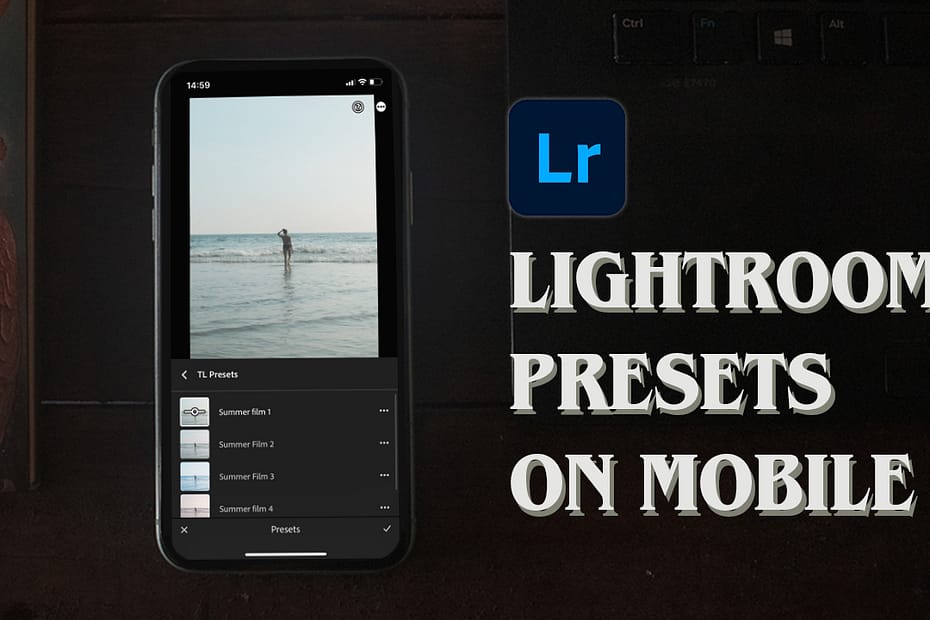
Are you eager to enhance your mobile photography game? Adobe Lightroom Mobile offers an array of tools to elevate your images, and one of the most convenient features is the ability to use presets. Presets allow you to apply captivating edits to your photos with just a tap, saving you time and effort.
In this guide, we’ll walk you through the simple steps to install Lightroom presets on your mobile phone, so you can effortlessly transform your images into stunning works of art.
Why Use Lightroom Presets?
Before we delve into the installation process, let’s discuss why presets are a must-have for any photographer. Lightroom presets are pre-defined settings that can instantly enhance your photos with various styles and effects. Whether you’re aiming for a vintage look, a moody atmosphere, or vibrant colors, presets offer endless possibilities to express your creativity and achieve your desired aesthetic.
*Notice that the preset mobile files are in DNG format, which is short for Digital Negative Format, a universal RAW image format developed by Adobe and used to save images with the preset settings attached.
Step-by-Step Guide to Installing Lightroom Presets:
- Download and Unzip Your Presets: Once you’ve acquired your desired presets, you’ll typically receive them in a zip folder. Begin by unzipping the files and extracting the contents.
- Upload to Cloud Storage: To access the presets on your mobile phone, upload the unzipped files to a cloud service like Google Drive or Dropbox. This ensures seamless accessibility from your mobile device.
- Download the files on your mobile: once you upload the files to a cloud service, save them on your mobile phone.
- Add DNG files into Lightroom Mobile: Open the Lightroom Mobile app on your smartphone and click on Add Photos From your Device (the little button on the bottom corner with a picture and “+” sign). Select the files and click OK,
- Create Presets: open one of the images, click on the three dots (usually on the top corner), and select the option Create Preset. Name the preset and, optionally, you can organize them into custom groups for easy navigation. Create folders based on themes, styles, or preferences to streamline your editing workflow.
- Apply Presets to Your Photos: With your presets imported and organized, it’s time to apply them to your photos. Simply select an image, navigate to the preset menu, and choose the desired preset from your collection.
- Fine-Tune Your Edits: While presets offer instant enhancements, don’t hesitate to fine-tune your edits further. Adjust settings such as exposure, shadows, and highlights to perfect your image according to your vision.
This is it! Now you’re ready to edit your photos on the go with just one click. Here is a video tutorial showing the steps above.

